

Keeping Your Fuel System Sorta Right
If you want your yard tool to work like it should, you really do need to stay on top of the fuel tank and oiler assembly, those parts are kinda key. For anyone with Stihl FS75, FS80, FS85, or KM85 models, the fuel tank assembly, labeled as part number 4137 350 0410, ends up being a major piece in the whole setup. Over time, those plastic tanks can get hairline cracks or, the internal oiler mechanism may stop doing its job because of grit, debris, and normal wear. Then you start seeing weird engine behavior, like fuel leaks , hard starts , or power that feels inconsistent, and honestly that usually means you’re better off doing a full replacement, not patching it up. Swapping the unit helps make sure the fuel lines and vent channels are sealed correctly, and that matters because air leaks can trigger lean running, which is not what you want. When you use genuine parts, or at least a high-quality replacement that’s meant for these exact Stihl models, you get the right fit and the fuel system vacuum stays in spec again. The result is more dependable operation, and a longer service life for the engine too, so your mowing, trimming, edging ends up actually finishing instead of becoming another “why is it doing this again” weekend.

Spotting When the Oiler Assembly Didn’t Make It
It helps a lot to catch the symptoms early, so you don’t end up chasing the wrong problem. Recognizing the specific signs of a compromised fuel tank or a failed oiler assembly is something every garden maintenance enthusiast should watch for, even if you’re not doing repairs every day. O ften, the first indicator is that there is fuel residue hanging around the base of the tank, which sort of suggests the housing has lost its structural integrity. Another frequent hint shows up when the engine stalls repeatedly, or can’t keep a steady idle , because the fuel system can’t maintain the needed pressure. Also, if the primer bulb won’t actually fill with fuel, or the fuel lines inside the tank turn brittle and then snap, the whole unit usually ends up needing a full replacement. Some owners may also notice heavy smoke or overheating , which points to an improper fuel-to-air blend caused by a faulty assembly. Since these parts operate like a delicate closed system , even a tiny break in the tank’s sealing ability can trigger bigger engine troubles. Catching these particular signals early helps keep the harm from moving on to costlier components, like the carburetor or the internal piston assembly, which ultimately reduces time and labor expenses. When you deal with these small warnings proactively, your equipment tends to run smoother during the busy gardening season.
Choosing The Right Replacement Components
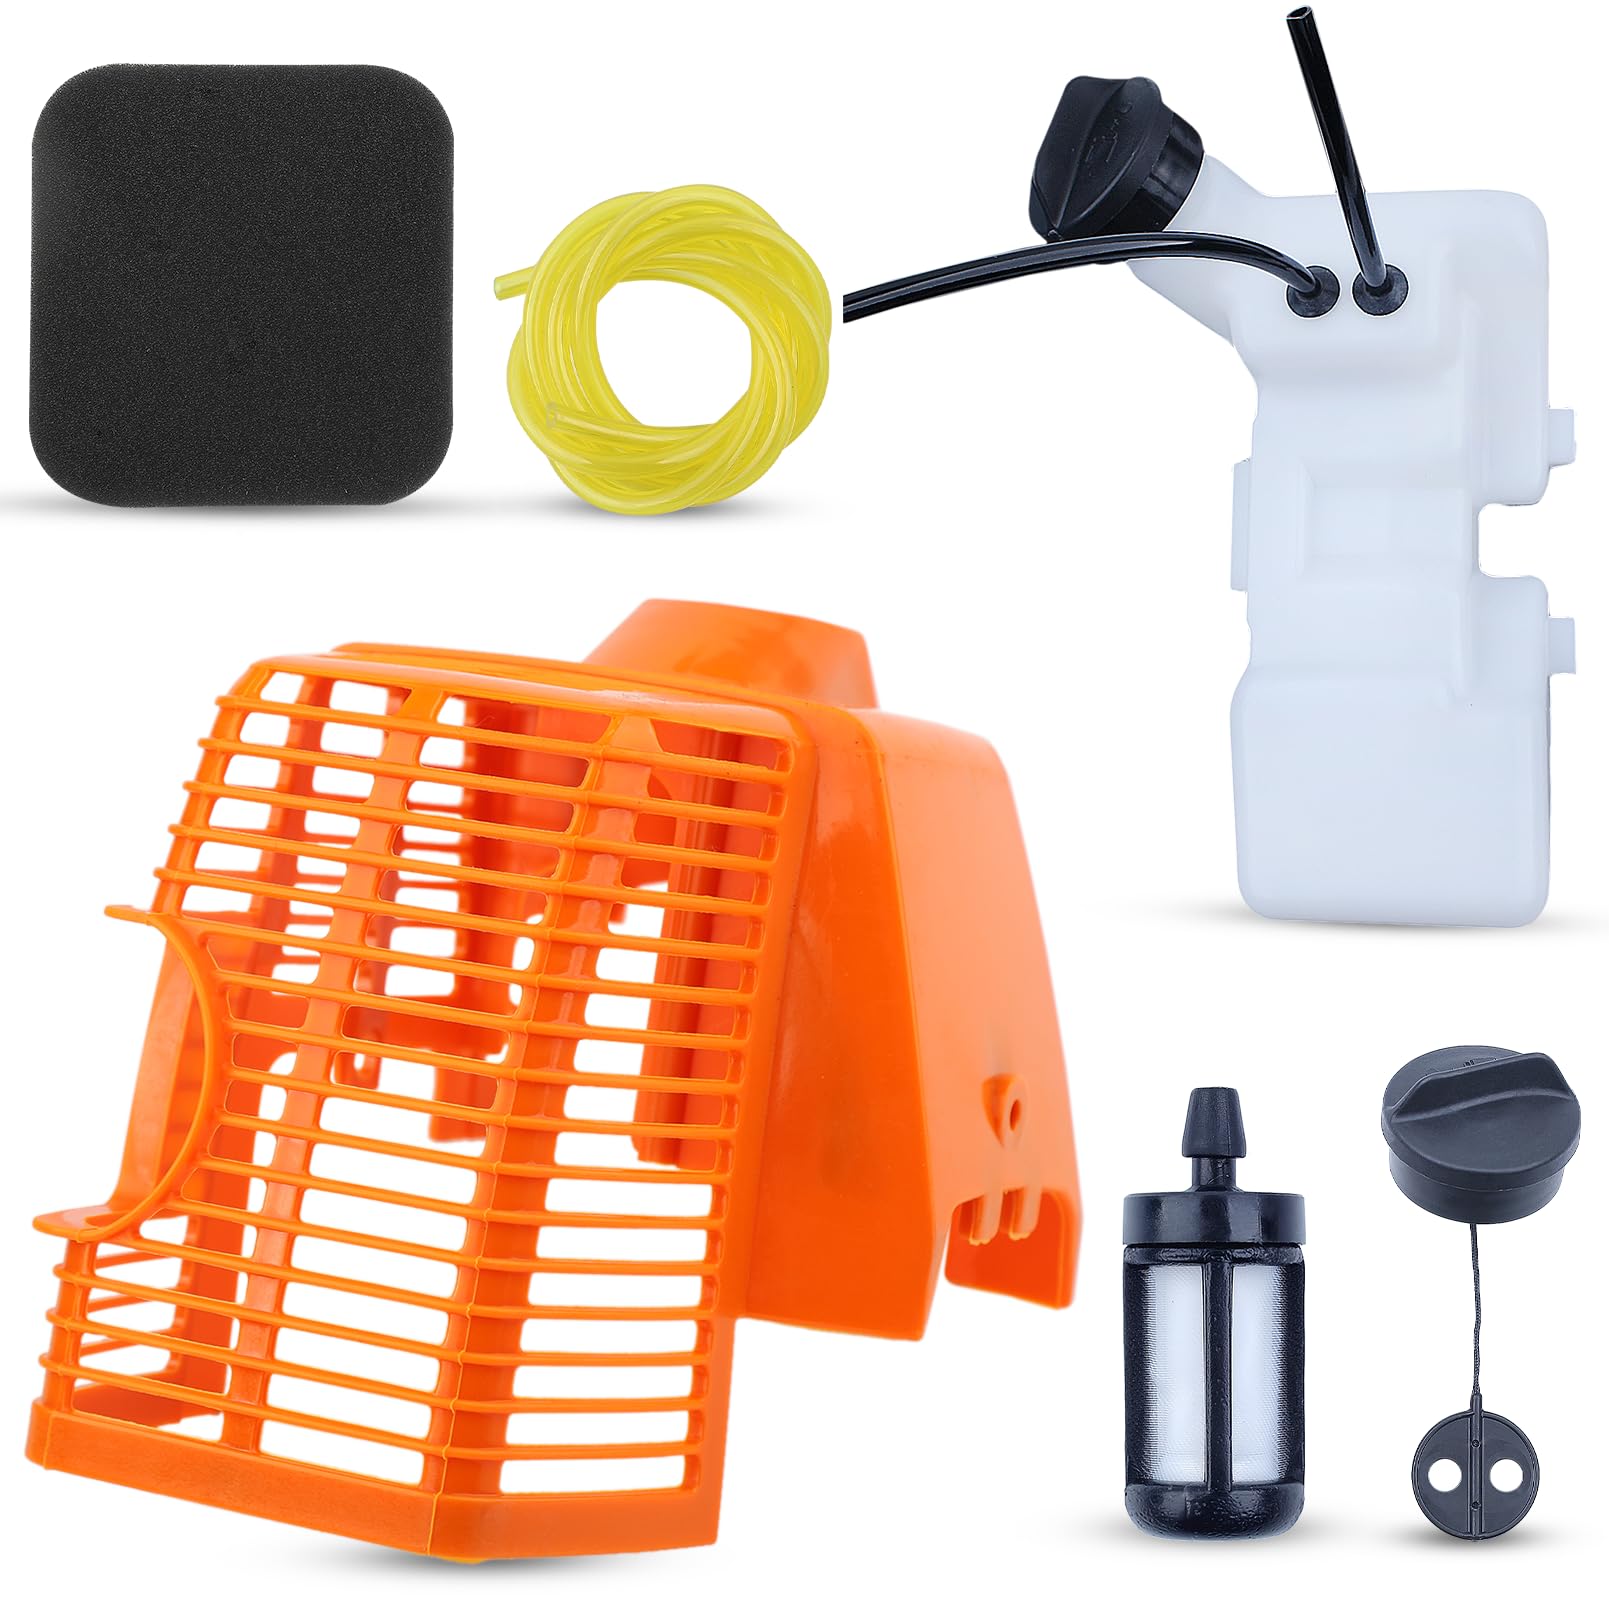
Picking the correct replacement component for your Stihl trimmer is a pretty direct process, yet it still feels critical if you want real compatibility and long-term durability. When you’re matching the assembly to the 4137 350 0410 specification, you should confirm the part is made for the FS75, FS80, FS85, or KM85 lineup , otherwise installation turns into frustration fast. There are plenty of high-quality aftermarket options , which can deliver strong performance, but it’s best to select parts that use chemical-resistant plastics able to handle today’s ethanol-blended fuels. Before you finalize your purchase, give the included parts a quick look, to make sure they came with new fuel lines , a fresh fuel filter, and a high quality fuel cap , because these little bits tend to wear out alongside the main tank. Going for a full assembly—rather than trying to repair single pieces—usually turns out to be the quickest path to a durable fix. Also , compatibility is still the whole foundation of any successful repair, so confirm the part number matches the marking on your tank , or the one listed in your manual, this helps the installation go in smoothly. It’s a pretty small cost to upgrade to a solid, well made replacement assembly, and it buys you steadier reliability as well as that calm, practical peace of mind while you keep your lawn and garden equipment running.

Steps for getting the assembly installed correctly
Carrying out the swap of your trimmer fuel tank assembly needs a bit of patience and a tidy routine, so everything reconnects the right way. Start by clearing the area around the trimmer of any fuel residue, and make sure the engine has cooled down all the way, safety first, always. Pour out or drain any remaining fuel from the old tank, then disconnect the throttle cable and the fuel lines that run to the carburetor. Next, carefully unscrew the mounting bolts that hold the old tank assembly onto the trimmer frame, try to remember exactly where each one goes , so you don’t end up guessing later. When the old unit is removed , take a short minute to check the engine housing area for dirt , dust , or debris that should be cleaned before the new component goes in. Then slide the new 4137 350 0410 assembly into position, line up the mounting holes as accurately as possible, and tighten the bolts in a cross pattern to spread the pressure evenly. Reconnect the fuel lines snugly, making sure there arnt any kinks, or sharp bends, that might slow down fuel movement. Then, double check that the fuel cap makes a real airtight seal, before you pour in fresh fuel mixture. This sort of methodical approach makes sure the new setup works right away, as in on the very first pull of the starter cord.
Testing and verifying proper function
After the new fuel tank and oiler assembly are in place, you should run a few tests to confirm the repair is solid and the performance is on point. Before you turn on the engine, load the tank with fresh fuel mixture, then inspect the base and the points where the fuel line enters for any weeping, or leaking signs. If everything stays dry, prime the carburetor like you normally would, and try to start the engine. Listen closely for a smooth, steady idle. Let the machine run for a few minutes, then watch how it behaves under a light load, and note any bogging or hesitation, since that can hint at a leftover fuel delivery issue. Also verify the oiler is doing its job, which is commonly checked by watching for a small amount of oil displacement, or by confirming the chain, or cutting attachment, gets enough lubrication. If the trimmer keeps a consistent RPM and does not stall, then the repair is done well. Keeping the work area tidy during these final checks makes it easier to catch even tiny drips or a barely loose connection. Once your checks are successful, your Stihl trimmer is ready to handle demanding jobs, and you’ll get reliable, strong output across your gardening work.
Conclusion
Wrapping up the replacement of the fuel tank and oiler assembly is honestly a pretty satisfying job, because it boosts both the performance and the service life of your Stihl trimmer, directly. When you spend the time to properly diagnose, locate, and then install the 4137 350 0410 unit, you’re basically clearing out likely fuel system trouble that shows up a lot in older machines. This very practical, hands on method can save you a lot of money compared to paying for professional repairs, but it also gives you a much more grounded feel for how the tool works. Don’t forget, consistent proactive upkeep is what keeps things from turning into bigger headaches later on, like, doing routine checks on the fuel lines and caps can help stop smaller faults before they grow into full on system failures. Also, properly disposing of the old, worn plastic tank matters more than people think, it keeps your workspace environmentally responsible. Now that the new assembly is seated securely, your trimmer should run with improved pull, easier starts, and a steadier flow of fuel, so you can handle your landscaping chores with more trust and efficiency. Taking charge of these kinds of maintenance steps means your tools are ready for the season, and it proves that with the correct parts, and a methodical process, your equipment can deliver years of dependable service around your home garden.